

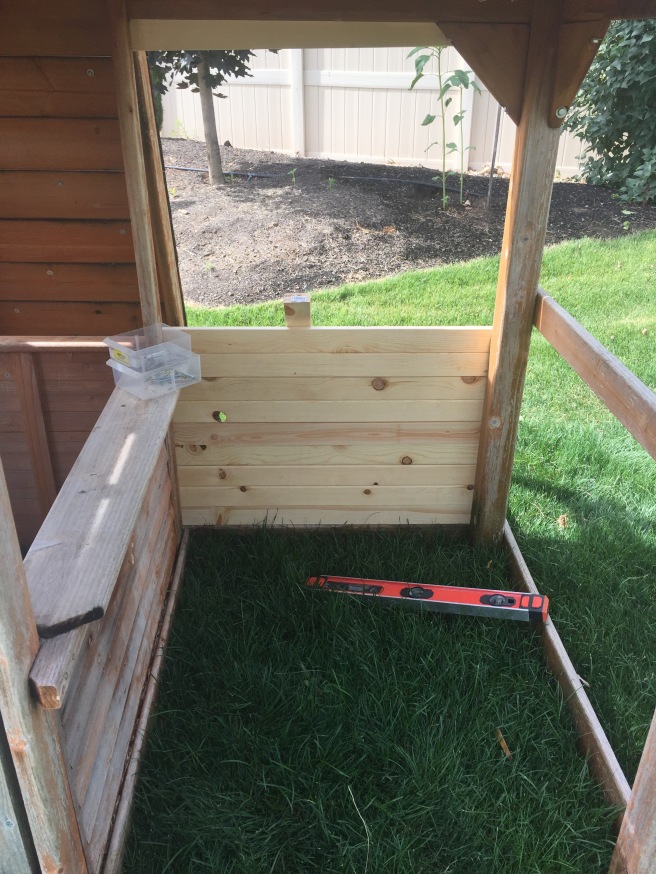
We have been working on this project for awhile now and have been so excited to finish it so we could share it with everyone. Earlier this summer my mom had a neighbor move and they were selling their play set. Right away my mom had a vision of making it into an adorable Playhouse for Maylee so she decided to buy it. She ended up getting it at a great price! Below is how we got it. There was some wood missing from places and had just been worn from weather a little bit. There wasn’t much that needed fixed just cosmetic fixes.

The first thing we did was remove the divider in the bottom of the playhouse. We wanted to create a larger room for kids to play in. We then added mini shiplap boards to enclose the back to make it seem more like a house. We also enclosed the bottom half of the front and side with the shiplap. We got the wood at Home Depot. They were 1×3 boards. We simply measured the opening, cut them with a chop saw, and nailed them up. It was very easy.

My dad then made these adorable tiny shutters to put on the second floor front windows. They seriously added so much character and charm. He used the extra wood from the walls. He first measured the windows and cut the wood to that size and screwed them together. My mom then painted them the trim color and they attached them after they painted the house white.

My dad then added shingles to the roof to give it a more authentic house look. We just bought shingles from Home Depot and nailed them on using shingle nails. We are so glad we had my dad to do all the hard work for us!

Then it was time to paint the playhouse! We started by spray painting all the metal and plastic parts with primer that was for metal and plastic. Then we started paining away! We used Behr Premium Plus Ultra in a pure white color. We chose this paint because it has a primer already mixed in with the paint. We use Bhers paint that has primer mixed in it with most all our projects! The stain from the original playhouse kept seeping through so we ended up doing two coats of paint. It was not a fun thing to paint. There were so many books and crannies to get that paint into.


For the trim we used a quart of green paint that Walmart had on clearance for $5. We just had to do one coat of the green paint. We also put a coat of polyurethane on all the green paint since it was an interior paint.


We also added this little shelf with L brackets and some leftover wood. We decorated the shelf with these cute vases from TJ Maxx and placedsome fresh garden roses from the yard.
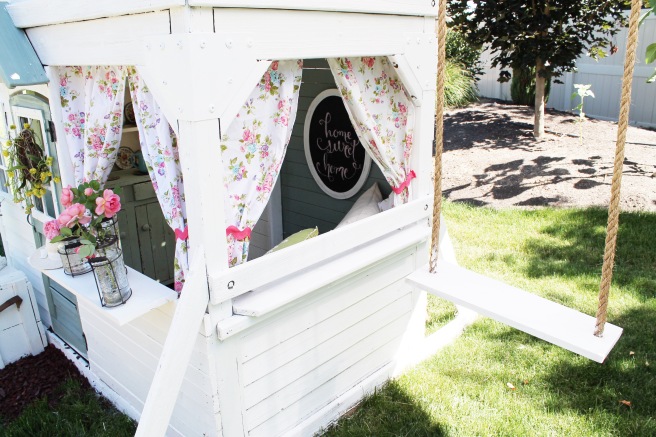
We added these rope and and wood swings for some extra cuteness. Both the wood and rope were from Home Depot. We cut the swing seat to the size we wanted and drilled two holes to fit the rope through. We tied a knot in the rope in the bottom of the board and then another knot on top attaching it to the swing set.

Here are the shutters that we made on the top floor of the playhouse. We also created this flower box under the window. We found the box with the flowers already in it from TJ Maxx. We added L brackets to the box to attach it to the house.

Inside the playhouse we painted the shiplap wall the same color as the trim. We added a chalkboard that was made from an old frame that we already had. We placed this bench to the right and added some cute throw pillows.

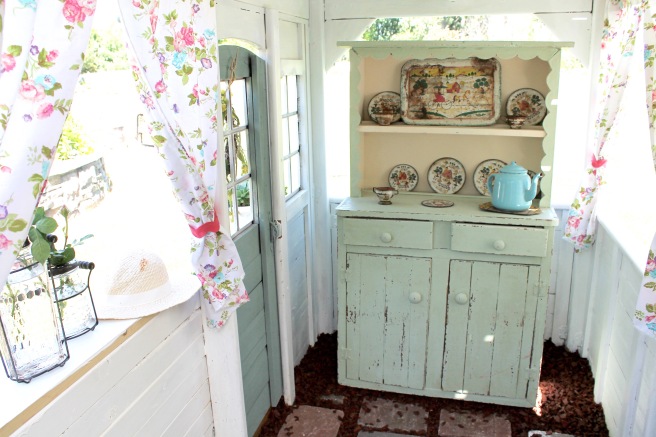
On the other side of the bottom of the playhouse we put a cute little kitchen set that my mom got at an antique shop a long time ago.

For the floor on the bottom of the playhouse we added some pavers and filled the spaces in between them with rubber bark. We also got that at Home Depot.
Upstairs we created an area for Maylee to sit on the ground with all these pillows and read or relax.


On the other end of the upstairs there is a wood table with a basket of coloring utensils and some books.

We made all the curtains in the playhouse with this flower print. We just hemmed the two sides and the top leaving an inch and a half opening on the top so they could fit on the curtain rod.
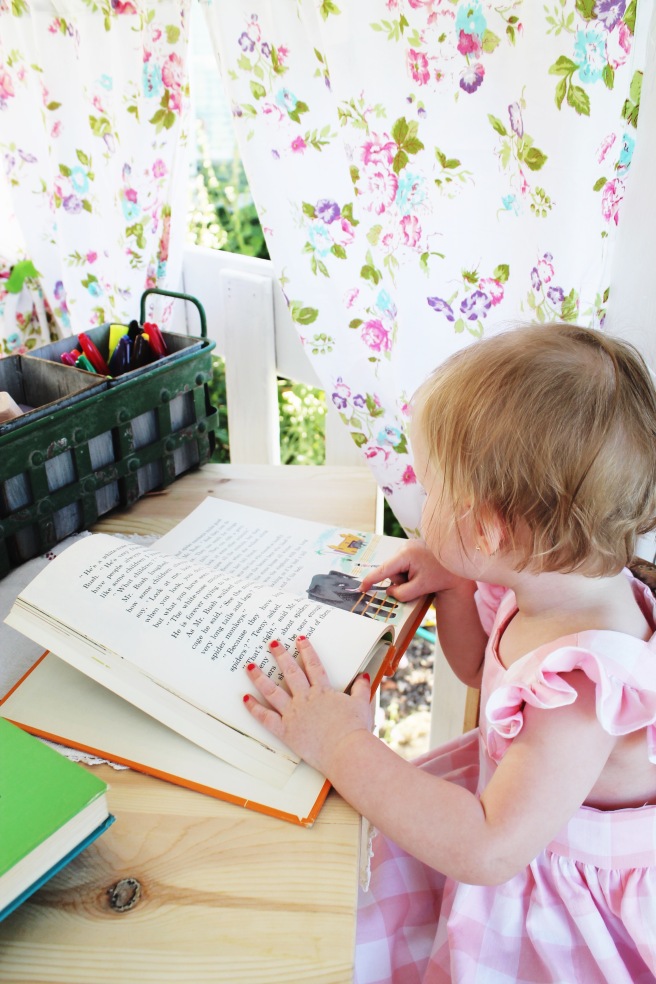
We are so excited that Maylee has a fun and cute little place to play with her future cousins, siblings, and friends. Making this made me and my mom wish we were little girls and could be care free and play house and read books here. We are excited that Maylee has a place to have fun at her grandma and grandpas house!

Check out Maylee’s fall home tour here!


That is the cutest play house I’ve ever seen!! You and your mom (and dad) are so creative. What a lucky little girl Maylee is!
LikeLiked by 1 person
Thank you Corri! My mom is pretty creative 🙂
LikeLike
You girls are the most creative, talented and energetic people I have ever seen! This playhouse is every little girls dream!
LikeLike
Thanks Kelly!
LikeLike
Oh my gosh I’m in love!
LikeLiked by 1 person
Thanks Brittany! We are too!
LikeLike
Amazingly adorable! Love reading each step in the process. Great job!!
LikeLike
Thanks Susan!
LikeLike
Reblogged this on and commented:
This would have seriously been my dream as a child (and maybe still as an adult). Maylee is lucky to have such a crafty mom with great taste!
LikeLike
What did you use for the flooring upstairs? (Black and white). Does it get wet and how is it holding up? Thanks!
LikeLiked by 1 person
We used some leftover linoleum from our house. It has held up great! It is covered so I don’t think it gets too wet. But it’s been a year and it’s been outside through tons of cold, snow, and rain and it looks just the same! Hope that helps.
LikeLike
We used some leftover linoleum from our house. It has held up great! It is covered so I don’t think it gets too wet. But it’s been a year and it’s been outside through tons of cold, snow, and rain and it looks just the same! Hope that helps.
LikeLike
This is so adorable!! What an awesome playhouse! I’m starting a swing set redo myself soon. Do you remember the name of the green you used? I love green but never seem to pick the right shade. Also, do you think a slide would turn out ok if painted, first using the coat you mentioned for plastic and metal? I feel like if I don’t paint the slide it will stick out like a sore thumb. Thanks so much!
LikeLike
So sorry I just saw this comment today. For the green honesty I mixed a couple of colors in our garage to get that so there is no specific color. I am not sure at all about the slide. There is a slide that we eventually attached onto the playhouse that is yellow and i had thought about painting it but I worry about he paint chipping and staying especially being outside. If you paint it let us know how it turns out!
LikeLike
Wondering what u did with the slide. I’m questioning the same thing. Thinking about just removing up and closing up opening.
LikeLike
Are the plans for this play house available for purchase?
LikeLike
I LOVE THIS!! I have this exact set and am most likely going to remove the slide as its old and yucky. Did you leave the climbing wall on? And if so do you have a photo of what u did on the backside?
LikeLike
whats the brand/name of this play set?
LikeLike
Do you remember the brand of this playset?
LikeLike
It’s from Costco it’s made by cedar summit brand but they no longer make this model. I found This exact one on Craigslist locally for my daughter.
LikeLike